

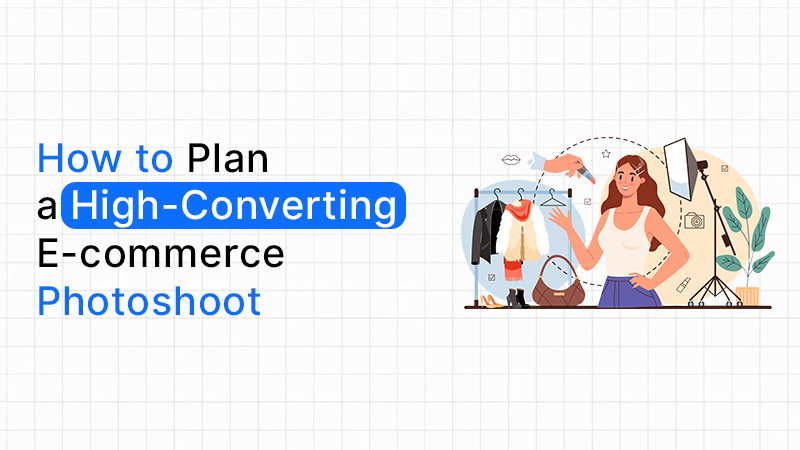
In the competitive world of online retail, stunning product photography isn't just a luxury, it's a necessity. But are your beautiful images actually driving sales, or are they merely taking up valuable website real estate? The truth is, many e-commerce photoshoots fail to convert because they lack a crucial element: meticulous planning. This guide will reveal how to plan an e-commerce photoshoot that not only looks good but significantly boosts your conversion rates.
Imagine investing thousands in a photoshoot, only for your new product images to have a negligible impact on sales. This frustrating scenario is all too common. Most e-commerce shoots fail to convert because brands focus solely on aesthetics, overlooking the strategic connection between visual clarity and conversion rate optimization (CRO).
The objective of this blog is to provide you with a step-by-step e-commerce shoot planning framework. By understanding the importance of planning, you'll transform your product visuals from simple images into powerful sales tools.
The difference between aesthetically pleasing photos and conversion-driven photos lies in their purpose. While beautiful images are engaging, high-converting images are designed to address customer pain points and provide critical information.
Key conversion triggers in e-commerce photography include:
Without proper planning, common mistakes brands make include inconsistent branding, unclear product features, and images that don't meet platform guidelines, all of which deter potential buyers.
Before a single camera is set up, clarify the overarching purpose of your photoshoot. Are you aiming for a product launch, website conversion improvement, marketplace listing optimization, or performance ad creatives? Each goal requires a different visual strategy.
Consider mapping your visuals to different funnel stages: Top-of-Funnel (TOF) for brand awareness, Middle-of-Funnel (MOF) for consideration, and Bottom-of-Funnel (BOF) for conversion. Aligning your shoot goals with specific CRO metrics, such as click-through rates (CTR) or add-to-cart rates, ensures your visual assets are working hard for your business.
The style of your photography – be it product photography or lifestyle photography – profoundly impacts its effectiveness.
Consider platform-wise image requirements: your D2C website might allow for more creative freedom, while Amazon or Flipkart have strict white background policies. Social ads often benefit from dynamic, lifestyle imagery. These e-commerce photography tips ensure your images are optimized for every channel.
This is arguably the most critical and often overlooked step in ecommerce shoot planning. A comprehensive shot list ensures no vital angle or detail is missed.
Essential shot types include:
Determine how many images per SKU are actually needed, aiming for a balance between comprehensive information and overwhelming the customer. Link each image to common customer objections (e.g., "Is it durable?" "What color is it really?"). For more in-depth guidance, explore our resources on effective ecommerce photoshoot strategies.
The importance of pre-production for photo shoots cannot be overstated. This is where you lay the groundwork for a smooth, efficient, and ultimately successful shoot, maximizing your return on investment.
Key pre-production elements:
The choice of models (or lack thereof) profoundly impacts how your product is perceived. Decide when to use professional models, hand models, or flat lays based on your product and target audience.
Maintain styling consistency across all SKUs, especially for product lines. For e-commerce, composition principles generally lean towards:
Correct planning in this stage significantly reduces post-production dependency and costs.
A single photoshoot should serve multiple outputs. Planning formats in advance is crucial for efficiency and cost savings.
Consider:
Plan for various aspect ratios and resolutions upfront to avoid costly reshoots. A single well-planned image can be repurposed across numerous channels, reducing overall content creation expenses.
Don't wait until after the shoot to think about editing. Decide on your editing style beforehand:
Establish clear naming conventions and asset organization strategies for easy retrieval and collaboration. Finally, agree on turnaround timelines with your editing team to ensure faster go-live for new products or campaigns.
Before deploying your images, put them through a rigorous quality control checklist:
Crucially, don't just assume your images will convert. Implement A/B testing product images for conversion uplift. Use tools like heatmaps and analytics to validate image performance, understanding where customers are looking and if the images are guiding them towards a purchase.
In the end, it's clear: planning an e-commerce photoshoot matters far more than just expensive equipment or a famous photographer. Strategic ecommerce shoot planning is the real conversion driver, leading to lower customer acquisition costs (CAC), higher conversion rates (CRO), and faster product launches. By embracing this comprehensive framework, you're not just taking pictures; you're building a powerful visual sales engine.
Tell us what you're working on and we'll get back to you with ideas and next steps.


Ideally, 2-4 weeks before your target launch or campaign date. This gives enough time to finalize the shot list, prep products, brief the team, and plan multi-platform formats without rushing pre-production, which is where most of the ROI is created.
It depends on the product and platform, but most ecommerce listings need 5-8 images per SKU: a hero shot, detail close-ups, scale reference, USP-highlighting angles, and any lifestyle or in-use shots relevant to the category.
Yes, if you plan for it upfront. Shooting with multiple aspect ratios and formats in mind from the start lets you repurpose the same shoot across your website, marketplaces like Amazon or Etsy, and social ad creatives ,avoiding costly reshoots later.
Shooting without a defined goal. Beautiful images that aren't tied to a specific funnel stage or conversion metric often look great but do little to actually move customers toward a purchase.
Don't assume - test. Use A/B testing on product images and tools like heatmaps to see where customers are looking and whether your visuals are guiding them toward "Add to Cart," rather than just relying on subjective opinions of what looks good.
It depends on your product and audience. Professional models work best for apparel and accessories where fit, scale, and how the product interacts with a person matter to the buying decision. Flat lays and hand models are often a more cost-effective choice for basics, accessories, or smaller catalogs where showing the product clearly matters more than context.

.png)


